But, first we need to cover the rest of the window bit even though it occurred more or less simultaneously with pulling wires, etc.
As you no doubt have seen, after the windows were installed, many of the windows still had a bit of gaposis under the louvers. This is standard practice down here. I don't know if its because of different spacing between individual louvers or different mechanical functions in the way the louvers are actually opened or closed, or what. Anyway, the practice is to leave some gap at the bottom that, after installation, is then back-filled with mortar, finished and painted. So that's what's happening here.
In this photo, Mayo is tucking mortar into the gap under the window frame and smoothing it out. They even install a small wood form to square-up the front edge.
 |
Mayo finishing the window bottom
|
 |
| View From the Other Side |
 |
| Finishing the Windows |
 |
Fixing the A/C Opening
|
 |
| A/C in #2 Bedroom |
------------------------------------
Ok, now to the adventures of Electrician Man.One of the things about concrete houses that we were essentially unfamiliar with, is how wiring is run in a concrete house - well, at least how it's usually done here in Belize.
 |
| Joe Pulling Wire |
The Polyducto is positioned within walls and floors and ceilings as the house is built up, which is fine as far as that goes. What is supposed to happen is that each end of the tubing is capped with tape to prevent concrete running into the tubing when the concrete floors or ceilings are poured. What can also happen, since the tubing is flexible, is that it can easily collapse under the weight of concrete - especially if someone steps on it during the concrete casting process.
In either case, the electrician then has to try to break through the concrete plug in the Polyducto, or to try and force wiring through a pinched bit of tubing.
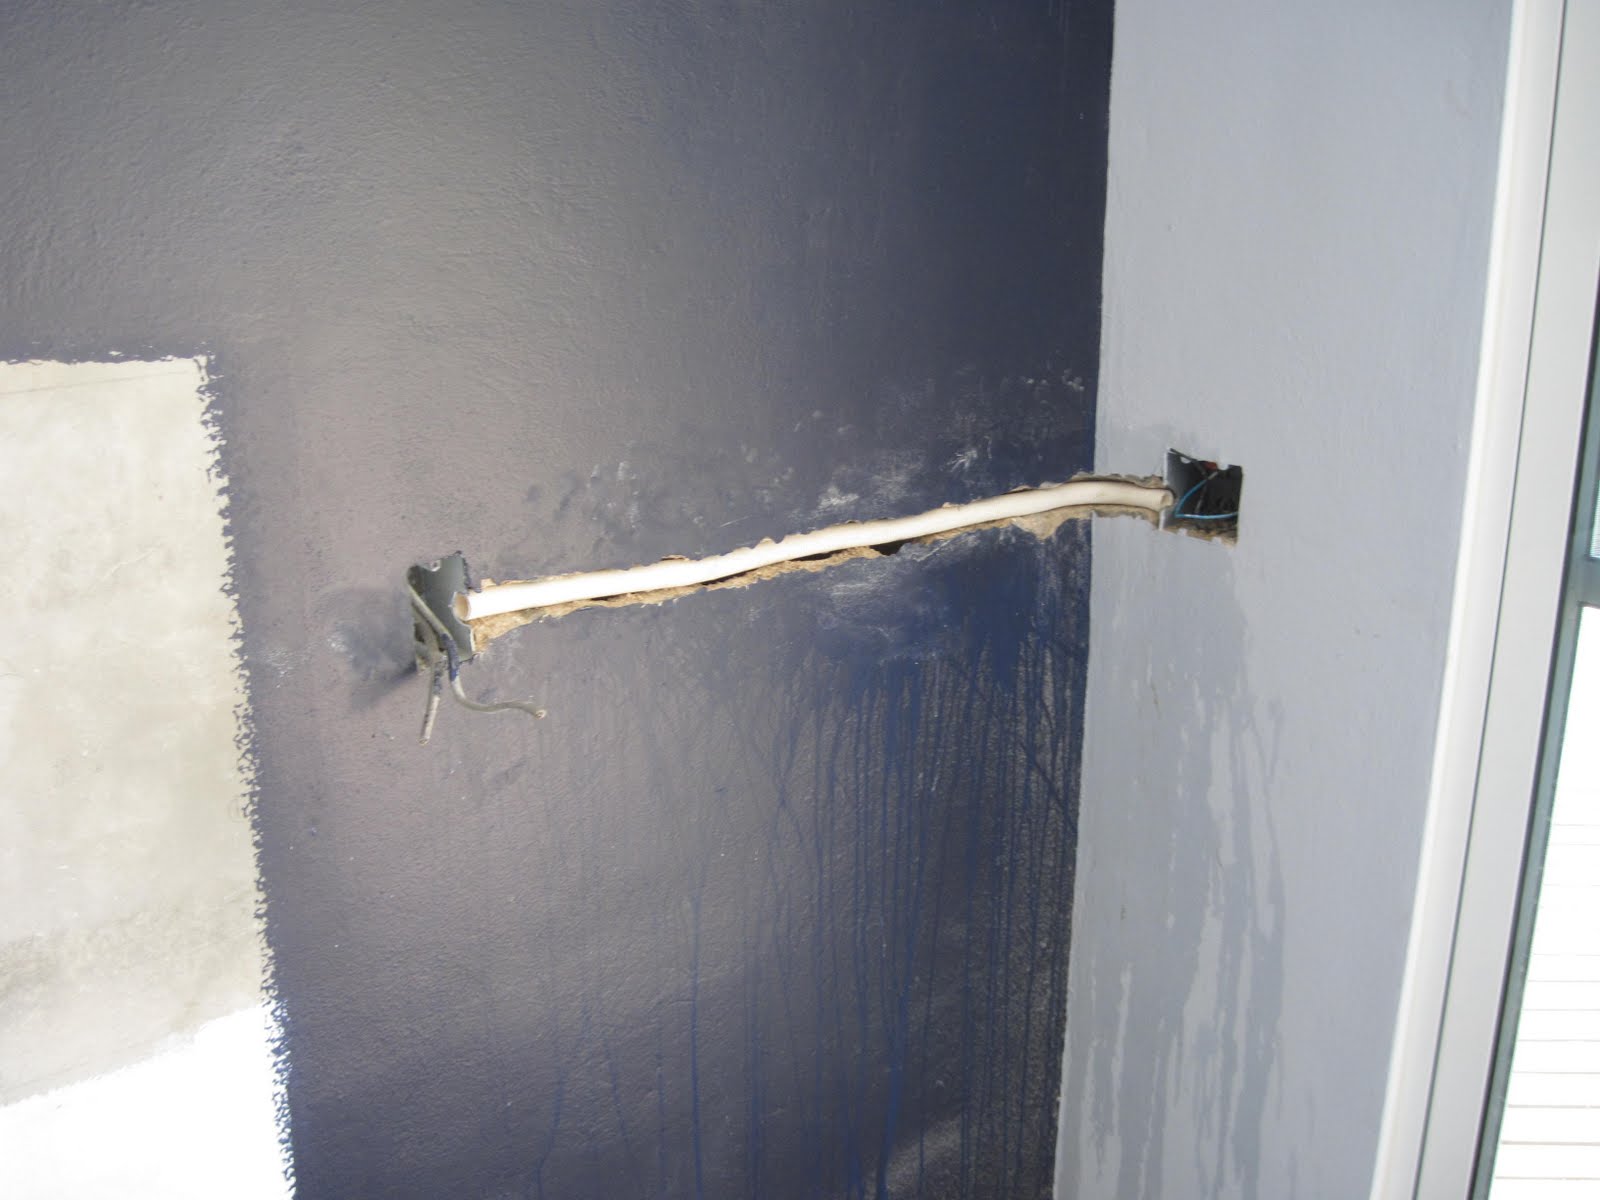
If they're unsuccessful doing that, then what has to happen is what we had to do. Channels have to be cut in the wall to run Polyducto or some similar product to allow circuits to be completed. In this example, Malo is cutting a channel from a working power circuit up to a switch that will control an outside motion-detector light.
 |
| Cutting a Channel |
 |
| Mayo Cutting A Corner Channel |
 |
| Mayo Patching the Channel |
Of course, each channel means it has have Polyducto added to it, then it is patched with concrete and smoothed out to be ready for painting.
 |
| Final Smoothing of the Mortar |
 |
Corner Bridged
|
 |
| Ready to Go |
------------------------------------
One last item for now. I also got the on-demand water heater installed and hooked up. I don't, as yet, have a butane bottle for it, nor do I have a vent pipe for it nor a hole to vent the pipe out. That'll all come when it needs to. Showering right now, I don't know anyone here who uses hot water for showering at this time of year.
 |
| On-Demand Water Heater |
No comments:
Post a Comment