Working on the pocket doors.
Day Fifty-Seven - Sixty, 11 - 15 December, 2015
No photos on Friday, the 11th.
For the 12th, Saturday, we have a few. The pocket doors have been framed out for a few days. Now they're actually being fitted and finished. While they were installing the doors, they took off one side of the frame on each door to ease working on the door and the track.
 |
| Bedroom Pocket Door Hung |
The frames, all home-built, were already quite strong. Omar wanted to
add brackets to them to make them even stronger and more rigid.
 |
| Adding Strengthening Brackets to Pocket Door Frame |
Of course, each of the brackets had to be individually trimmed to fit, so it's even more a custom installation.
 |
| Marking Brackets For Trimming |
While work on the pocket door has been going on, work on finishing the gable ends has as well. Below, they have about one more piece to install, some final varnishing and the south gable end willl be completed.
 |
| Adding Last Pieces to South Gable |
On the north gable, it's a little more complicated because of the join with the original pool house roof and transition with the new part. There's also a bit more caulking that will have to occur near the bottom to ensure no water infiltration.
 |
| North Gable Almost Done |
Monday brought mor work on the gable ends, and that means cutting siding to size on the fly. Here they're doing just that.
 |
| Trimming Gable Siding |
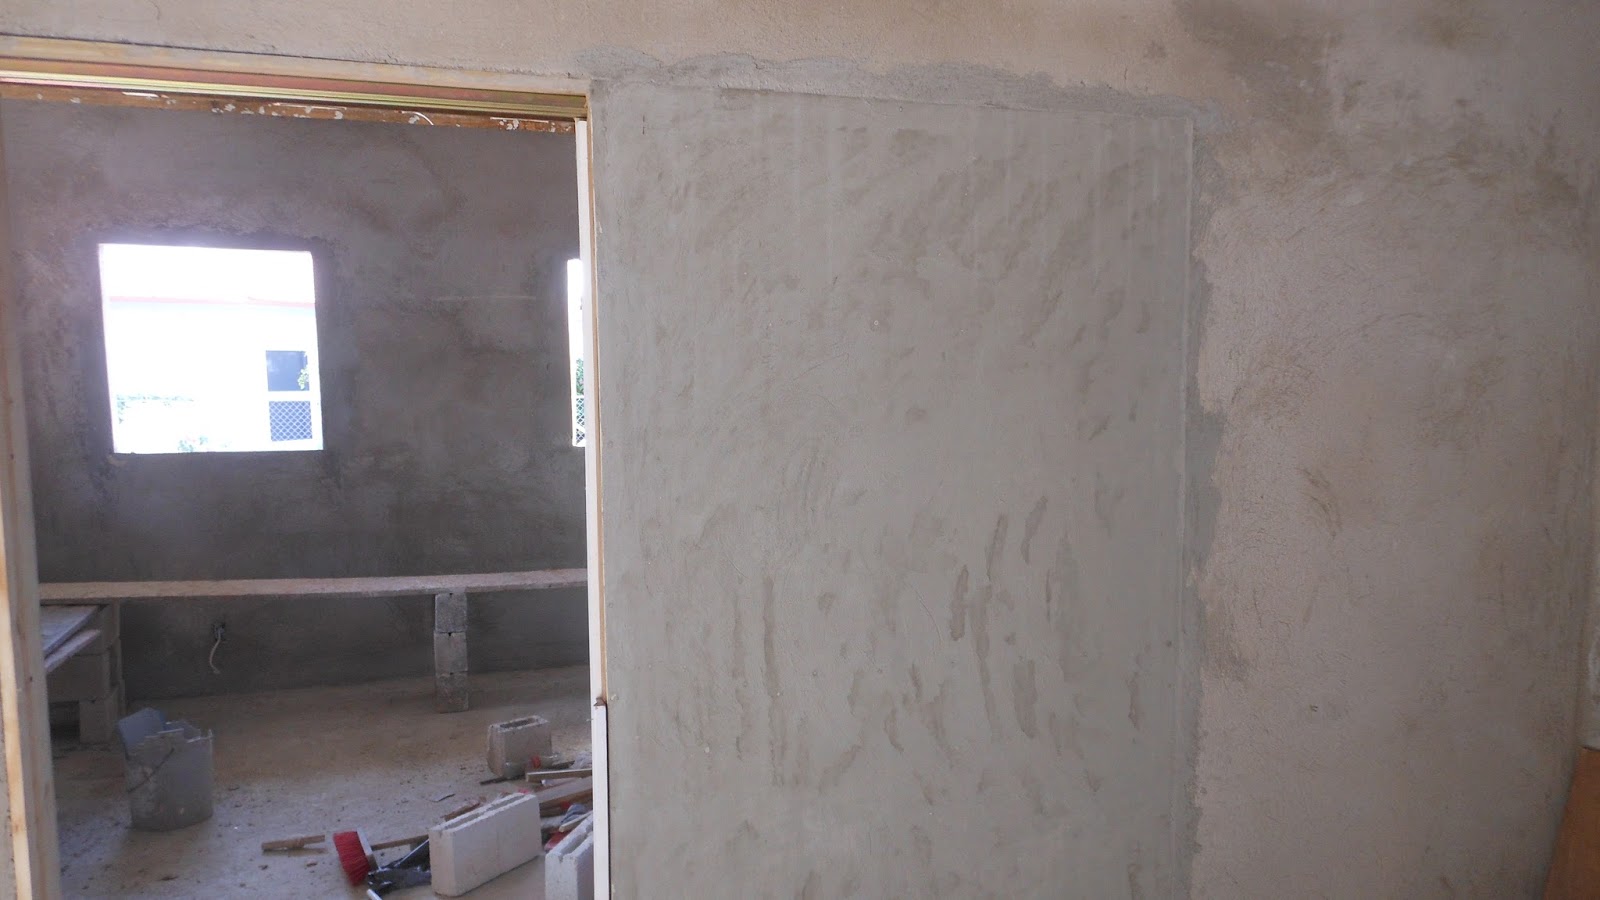
Here's the bedroom pocket door inside its frame. the PlyCem, or cement board simply is cut to size and screwed to the frame.
 |
| Bathroom Pocket Door Hung |
As in the photo below. Once that's all done, then comes the initial texture plastering of the whole wall, which should really hide the fact that there's a pocket door there.
 |
| Bedroom Pocket Door With PlyCem Attached |
From the living room side, you can see the PlyCem already fastened to the pocket coor frame.
 |
| Living Room Side of Pocket Door |
So you get the idea, here's the bedroom pocket door closed, giving you the idea of what it will look like in its finished state.
 |
| From the Bedroom Side |
And the same thing from the living room side. There will be wood finishing trim added at the top to hide the rail at top and to finish the surface where the door disappears inside.
 |
| How It Looks With Door Closed |
This has turned out to be a nice looking gable end. The two coats of Helmsman Spar Varnish, a durable, UV-resistant varnish, means it will last all of a year or two before it has to be done again. We've found that for the first year, getting a full year out of the initial application of varnish is a good thing. It really doesn't pay to go cheap in this regard. The cheaper stuff just won't last.
 |
| South Gable Done Except Screen |
The north gable end is more complicated. As you can see below, there's still pieces of the siding that have to be applied, along with caulking to prevent water infiltration. We'll also have to re-apply some rubberized waterproofing to the row of blocks to prevent seepage. And of course, screening is yet to be applied at either end.
 |
| North Gable Still in Progress |
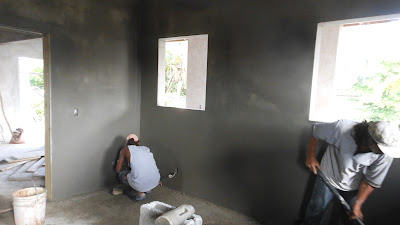
Tuesdaymorning was a surprise to me when I looked in the house. I hadn't realized that the guys had applied an initial coat of plaster to the PlyCem on Monday. It looks pretty cool.
 |
| Bedroom Pocket Door Near Completion |
Here's the view looking toward the bathroom pocket door.
 |
| Bathroom Pocket Door Near Completion |
Now, They're plastering the bedroom and probably the reverse side of the bathroom pocket door and the living room side of the bedroom door. That part always seems to move fast.
 |
| Reverse Side of Bedroom Pocket Door |
Yesterday, I spent a fair amount of time online looking at ceiling fans and bathroom lights. We've had pretty good luck ordering things from Lowes, and that continues. as the photo below shows.
We ordered three of the double fan on top of the photo. One will be in the living room, the next in the bedroom, and the last on the veranda as part of the living room. Combined, it has a seventy-four inch coverage. Pretty good. I've also ordered twelve-inch downrods for each of the ceiling fans as the four-inch ones that are included are simply inadequate.
The middle fan will be used in the office and in the bathroom. It has a fifty-four inch coverage, so we aren't messing around with tiny little fans here. Air movement is key to comfort.
And since we're going to have an eight-foot vanity in the bathroom, we decided to order a large seven light fixture to go above the vanity, as shown in the bottom of the photo.
 |
| Fans and Lights |
After lunch, I snuck into the construction zone and captured these images of smooth plastering in the bedroom.
 |
| Smooth All the Way Around |
You can still tell where the pocket door framing is because of different drying rates from the PlyCem to the concrete block. I'll bet by morning, there's no difference.
 |
| Smooth Plaster Applied |
Final bit of touching up here and there, along with a little cleanup, and the room will probably be ready for the color coat tomorrow.
 |
| Finishing Smooth Plaster |
Late this afternoon, Mitch showed up with the closet doors. Here they're bringing them in. We're running out of storage room .
 |
| Bringing In Clost Doors |
The upper part of the closet gets a set of doors as well.
 |
| One of the Upper Closet Doors |
Here's the inside of one of the main closet doors. The holes are for the hidden hinges that will be applied.
 |
| Closet Door Inside |
Here's the other door facing right side out.
 |
| Second Closet Door Outside |
There's many more photos than appear in each posting. You can see all
the photos of the construction project on Flickr at:
https://www.flickr.com/gp/winjama/0wVc3s. There will be new photos added
each day of the project.


No comments:
Post a Comment